标签归档:dnsmasq

openwrt上使用dnscrypt来处理dns污染

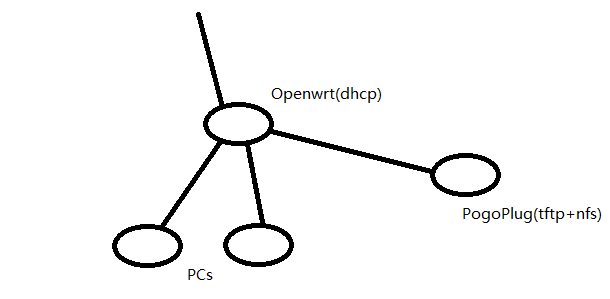
现在dns污染真的很烦人,总是会莫名其妙地遇到然后导致访问失败,折腾了相当久都没有什么好办法。dnsmasq上加上了chinalist,可以搞定国内的大部分域名,大部分CDN也能用,但是国外的地址解析一直都不是很稳定。

试过直接经梯子用国外的dns服务器,但是由于梯子本身的不稳定,上网的体验太差了,动不动就解析不了ip地址。然后经过一番搜索,得知了dnscrypt已经移植到了openwrt上,于是果断已看,还真有。

root@Belkin ~ # opkg list | grep dnscrypt
dnscrypt-proxy - 1.4.3-1 - dnscrypt-proxy provides local service which can be used directly as your local resolver or as a DNS forwarder, encrypting and authenticating requests using the DNSCrypt protocol and passing them to an upstream server. The DNSCrypt protocol uses high-speed high-security elliptic-curve cryptography and is very similar to DNSCurve, but focuses on securing communications between a client and its first-level resolver.

结果装上之后一试,哎呦,速度还可以,也比较稳定,没出现什么经常性的抽风。

安装的过程非常简单,opkg install dnscrypt-proxy之后修改/etc/config/dnscrypt-proxy,只需要取消注释一行就可以用了

config dnscrypt-proxy
    option address '127.0.0.1'
    option port '5353'
    option resolver 'cisco'
    # option resolvers_list '/usr/share/dnscrypt-proxy/dnscrypt-resolvers.csv'
    # option ephemeral_keys '1'

至于可以用的公用解析器,可以参考public DNSCrypt resolvers。

dig了一下,查询时间大概在200-ms,效果良好~

root@Belkin /etc/config # dig youtube.com -p 5353 127.0.0.1

; <<>> DiG 9.9.8-P3 <<>> youtube.com -p 5353 127.0.0.1
;; global options: +cmd
;; Got answer:
;; ->>HEADER<<- opcode: QUERY, status: NOERROR, id: 40410
;; flags: qr rd ra; QUERY: 1, ANSWER: 1, AUTHORITY: 0, ADDITIONAL: 1

;; OPT PSEUDOSECTION:
; EDNS: version: 0, flags:; udp: 4096
;; QUESTION SECTION:
;youtube.com.                   IN      A

;; ANSWER SECTION:
youtube.com.            300     IN      A       216.58.203.14

;; Query time: 194 msec
;; SERVER: 127.0.0.1#5353(127.0.0.1)
;; WHEN: Thu Jun 30 23:51:44 CST 2016
;; MSG SIZE  rcvd: 56

;; Got answer:
;; ->>HEADER<<- opcode: QUERY, status: NXDOMAIN, id: 6494
;; flags: qr rd ra; QUERY: 1, ANSWER: 0, AUTHORITY: 1, ADDITIONAL: 1

;; OPT PSEUDOSECTION:
; EDNS: version: 0, flags:; udp: 4096
;; QUESTION SECTION:
;127.0.0.1.                     IN      A

;; AUTHORITY SECTION:
.                       2158    IN      SOA     a.root-servers.net. nstld.verisign-grs.com. 2016062901 1800 900 604800 86400

;; Query time: 188 msec
;; SERVER: 127.0.0.1#5353(127.0.0.1)
;; WHEN: Thu Jun 30 23:51:44 CST 2016
;; MSG SIZE  rcvd: 113

然后配置dnsmasq,修改/etc/dnsmasq.conf,添加一行

conf-dir=/etc/dnsmasq.d

然后把https://raw.githubusercontent.com/felixonmars/dnsmasq-china-list/master/accelerated-domains.china.conf下载到/etc/dnsmasq.d/,再去修改dnsmasq的转发为127.0.0.1#5353

dnsmasq转发

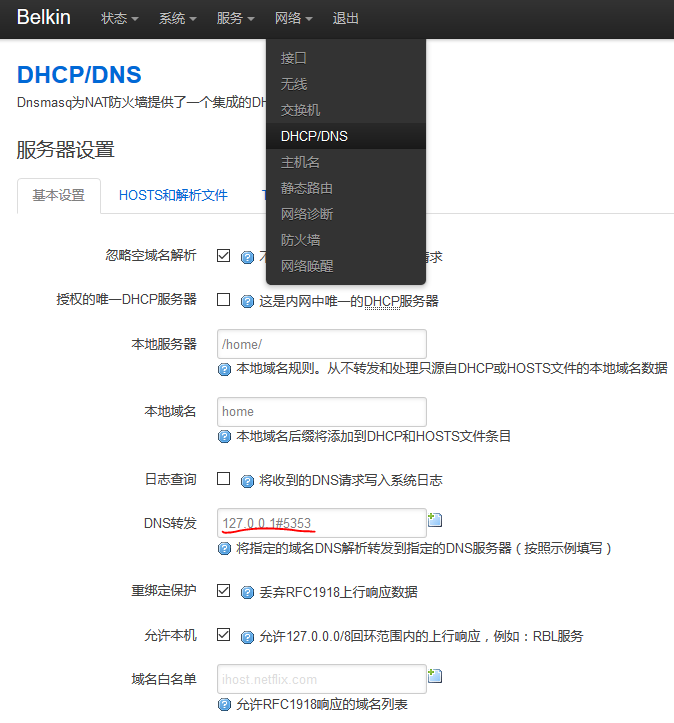
或者直接修改/etc/config/dhcp

config dnsmasq
    option domainneeded '1'
    option boguspriv '1'
    option localise_queries '1'
    option local '/lan/'
    option domain 'lan'
    option expandhosts '1'
    option authoritative '1'
    option readethers '1'
    option leasefile '/tmp/dhcp.leases'
    option resolvfile '/tmp/resolv.conf.auto'
    option rebind_protection '0'
    list server '127.0.0.1#5353'

在家里做了个pxe服务器

参考:http://wiki.openwrt.org/doc/howto/tftp.pxe-server

https://wiki.archlinux.org/index.php/NFS_(简体中文)

http://archlinuxarm.org/forum/viewtopic.php?f=31&t=3854

https://wiki.archlinux.org/index.php/Tftpd_server

新到手了只pogoplug,只用来做samba的话感觉稍微有点浪费,偶尔看到了网络启动系统这种东西,于是也想做一个来玩。

材料:一个dhcp服务器,一个tftp服务器,一个nfs服务器。

网上很多教程都是让pxe服务器自己包揽全部工作,这让我不高兴,dhcp这东西就该由openwrt做,文件服务就该让pogo来做,但是网上相关的教程都没有分工的内容,于是看着很多教程,自己研究了一下,终于成功了。

pxe网络拓扑


首先,在openwrt上改动一下dnsmasq的配置

/etc/config/dhcp

在末尾加上一段

config boot linux
        option filename 'pxelinux.0'
        option serveraddress 'tftp服务器地址'
        option servername '服务器名称'

至于服务器名称有没有要求……这个没试过,就照着本地的DNS名称填好了。

好了之后,重启dnsmasq,openwrt端的服务就算完成了。

接下来是pogoplug这边:

首先,是tftp服务器。安装tftp-hpa软件包,然后修改

/usr/lib/systemd/system/tftpd.service

中的tftpd根目录

[Unit]
Description=hpa's original TFTP daemon

[Service]
ExecStart=/usr/sbin/in.tftpd -s /srv/tftp/
StandardInput=socket
StandardOutput=inherit
StandardError=journal

先用/srv/tftp/做例子,先去下载https://www.kernel.org/pub/linux/utils/boot/syslinux/syslinux-6.02.tar.gz,然后解压。这里只需要里面的部分文件,包括这些:

syslinux-6.02/bios/core/pxelinux.0
syslinux-6.02/bios/com32/elflink/ldlinux/ldlinux.c32
syslinux-6.02/bios/com32/menu/vesamenu.c32
syslinux-6.02/bios/com32/lib/libcom32.c32
syslinux-6.02/bios/com32/libutil/libutil.c32

讲这几个文件拷贝到/srv/tftp/,然后在/srv/tftp/里面新建一个文件夹,来存放kernel和initrd。例如/srv/tftp/ubuntu,或者直接将ubuntu的镜像文件挂载到/srv/tftp/disks/ubuntu,可以让tftp客户端直接访问到。

然后,新建一个文件夹/srv/tftpd/pxelinux.cfg,在里面新建一个default的配置文件,内容如下:

DEFAULT vesamenu.c32
PROMPT 0
MENU TITLE OpenWRT PXE-Boot Menu

label Ubuntu
        MENU LABEL Ubuntu Live 13.10 64-Bit
        KERNEL disks/ubuntu/casper/vmlinuz.efi
        APPEND boot=casper ide=nodma netboot=nfs nfsroot=192.168.1.1:/mnt/extstorage/tftp/disks/ubuntu1310-64/ initrd=disks/ubuntu/casper/initrd.lz
        TEXT HELP
                Starts the Ubuntu Live-CD - Version 13.10 64-Bit
        ENDTEXT

说明文字可以自行更改,kernel和initrd会通过tftp获取,在获取到kernel和initrd之后,会通过nfs加载系统。

然后启动服务器

systemctl start tftpd.socket tftpd.service

如果需要自启动tftp服务器,则使用

systemctl enable tftpd.socket

至此,tftp服务器配置完成。

然后,是配置nfs服务器:

archlinux的nfs帮助似乎出了点问题,教程不是很完整,在网友的帮助下,发现原来服务没启动完成。

要安装nfs服务,需要安装nfs-utils。

然后,修改/etc/exports,这将会控制那些目录可以被访问,例如新增这段(根据上面pxelinnux的配置):

/mnt/extstorage/tftp/disks/ubuntu1310-64/ 192.168.1.0/24(ro,fsid=0,no_subtree_check)

将会允许192.168.1.*的客户端访问/mnt/extstorage/tftp/disks/ubuntu1310-64/。完成之后,用

systemctl enable nfsd.service rpc-idmapd.service rpc-mountd.service rpcbind.service
systemctl start nfsd.service rpc-idmapd.service rpc-mountd.service rpcbind.service

启动并自启动nfs服务器(吐槽:没密码真的大丈夫?)

配置过程中发生了许多问题,这里给后人稍微提供一下解决的思路:

1:openwrt的dnsmasq配置,有没有指向正确的tftp服务器,tftp服务器能不能访问;

2:nfs服务器的挂载有没有问题。

基本上都是权限或者配置文件出错……折腾了快2天……